Create A Multisig
How To Create a Multisig
Create a new Multisig
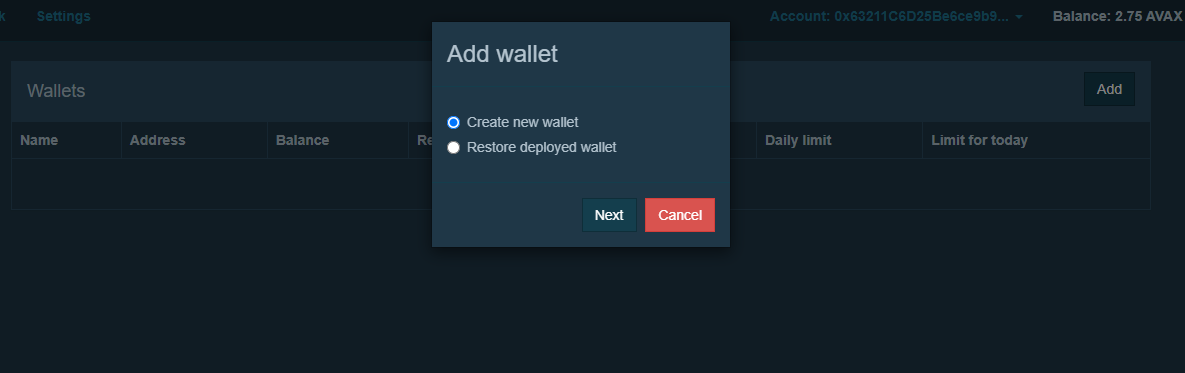
Connect your Web3 Wallet and click on "Add".

Select "Create new wallet" and click "Next".
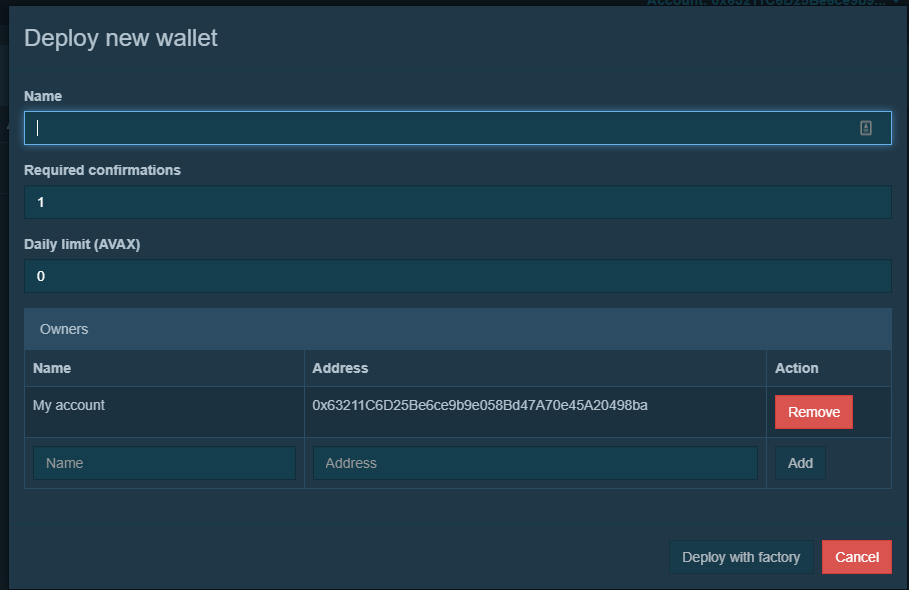
Define the name of the wallet, required signatories, and daily limit, and add the owners, then click on "Deploy with factory".
Congratulations! Your DAO now has a multisig, further protecting your DAO.
Restore an existing Multisig
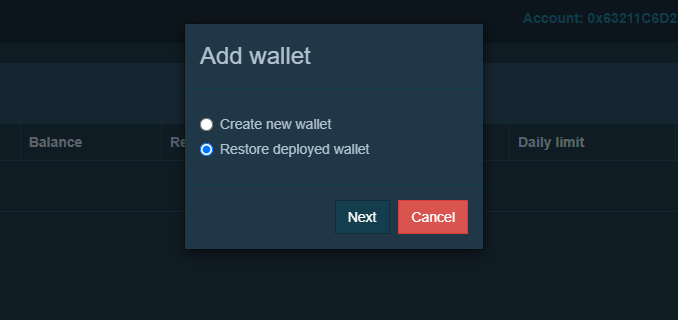
Like before, click "Add", now select "Restore deployed wallet" and click "Next".
Enter the name of your DAOs wallet and click "Ok".
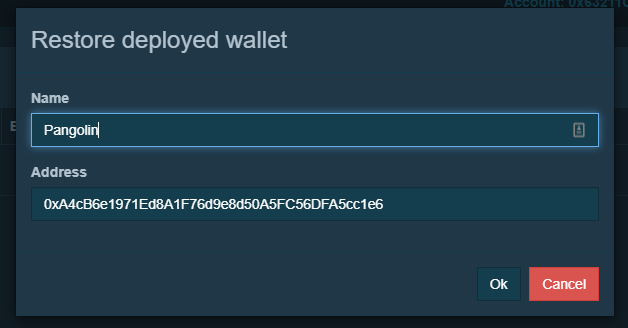
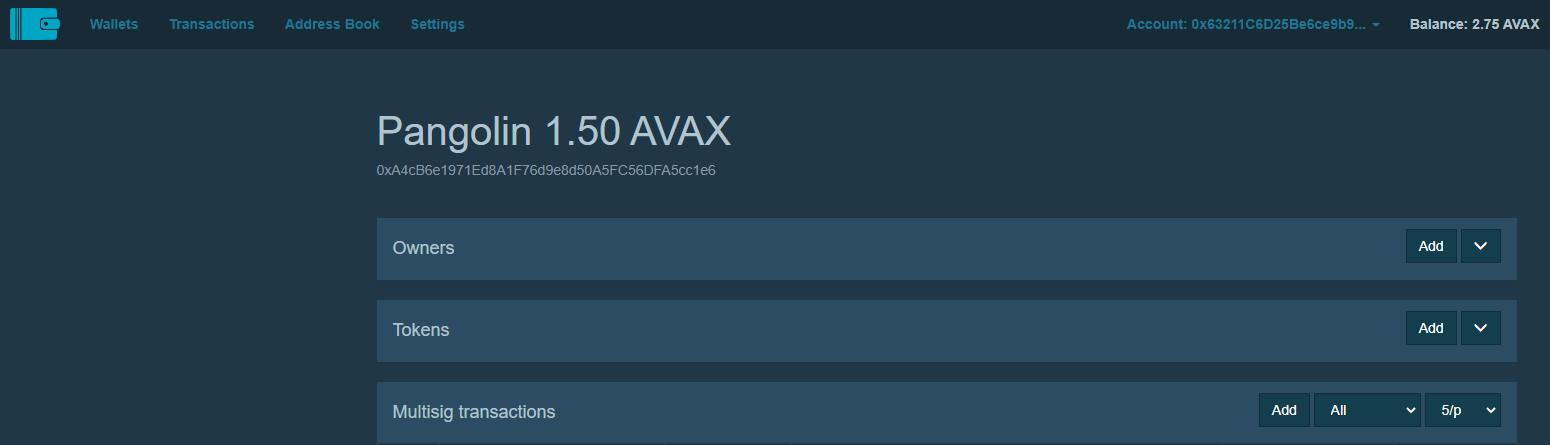
You'll now be able to see the multisig and interact with it.

Adding a multisig transaction
Navigate into the multisig you'd like to interact with and click on "Add" in the Multisig transactions field.
Define Destination, Contract name, Amount, ABI string, Method and click "Send multisig transaction".
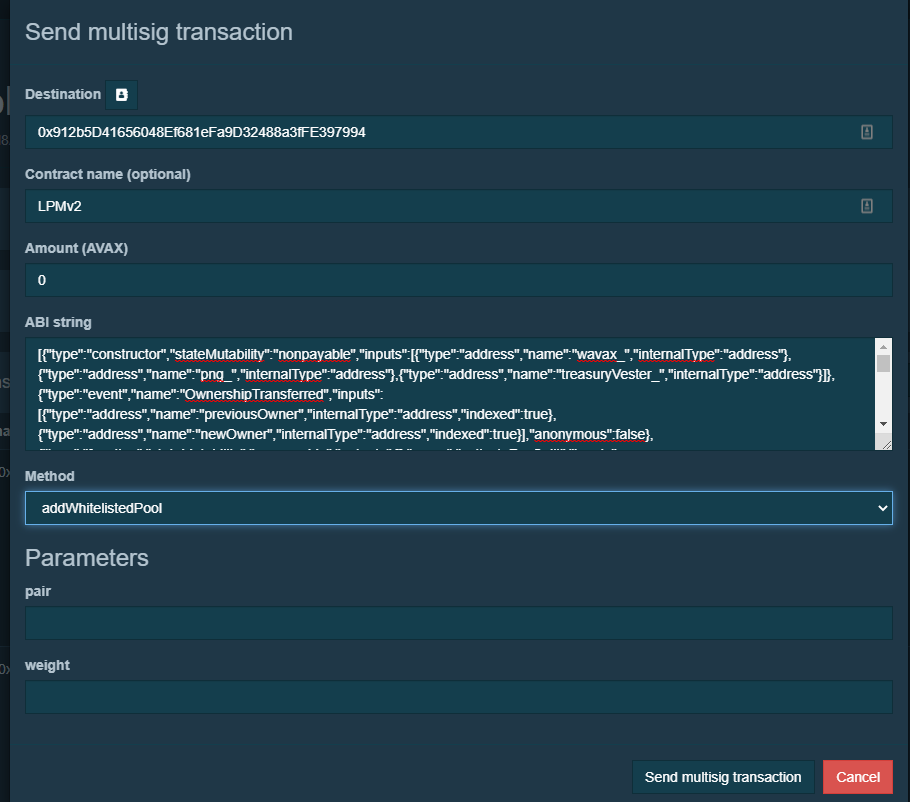
Note: The Contract ABI string can be obtained from the SnowTrace explorer:
https://snowtrace.io/address/<Destination Address>/contracts#code
To get access to the Method you'll have to copy/paste the ABI into the transaction menu.